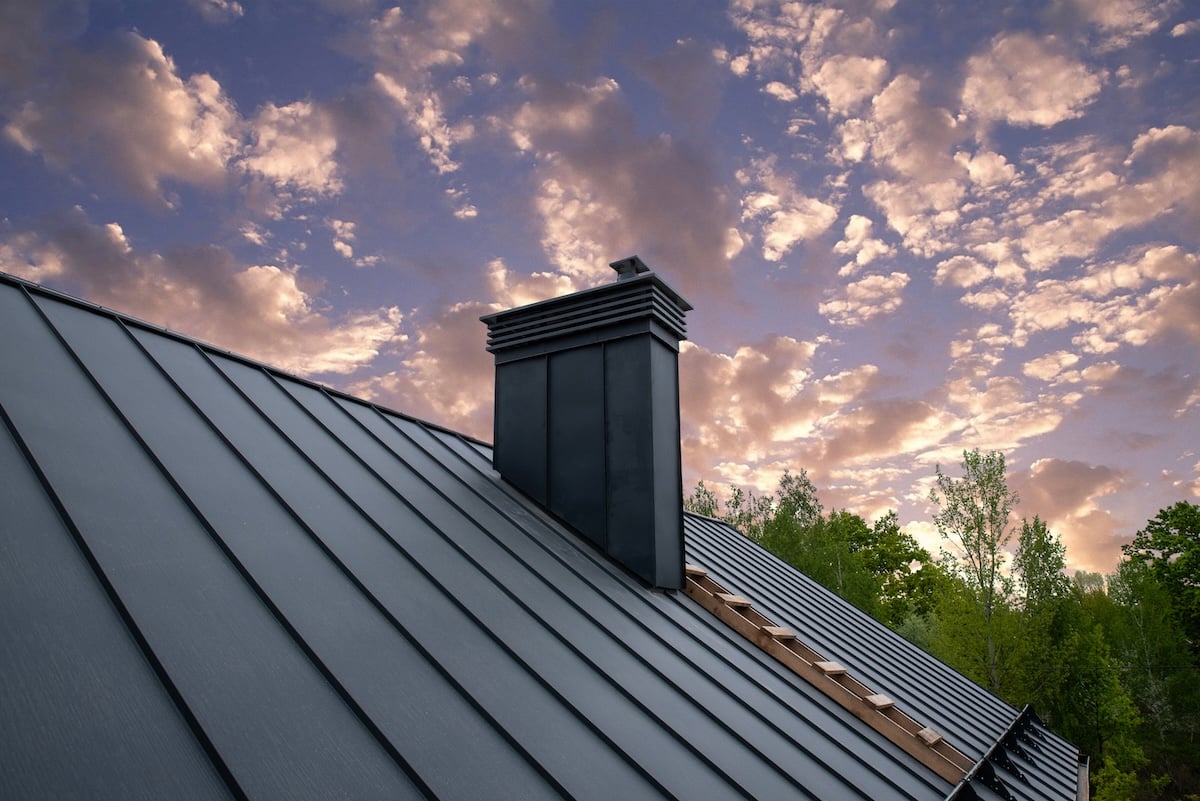
How To Install Standing Seam Metal Roof? (9 Steps)
Installing a standing seam metal roof can transform your home’s durability, energy efficiency, and curb appeal for decades to come. While this project requires careful planning and attention to detail, understanding the proper installation process helps you make informed decisions about your roofing investment.
This comprehensive guide covers everything from initial preparation to final inspection, helping you understand what goes into a successful standing seam metal roof installation.
Here’s what this blog will cover:
- Why standing seam metal roofing matters for your home
- Complete 9-step installation process with detailed instructions
- Essential tools, materials, and safety considerations
- Professional tips for achieving optimal results
Why Standing Seam Metal Roof Installation Is Important

Standing seam metal roofs represent one of the most durable and energy-efficient roofing solutions available to homeowners today. Understanding proper installation techniques ensures your investment delivers decades of reliable protection.
Professional installation of standing seam metal roofing systems offers several critical advantages:
- Long-term durability – Properly installed metal roofs can last 40-70 years with minimal maintenance
- Energy efficiency – Reflective surfaces reduce cooling costs by up to 25% during summer months
- Weather resistance – Concealed fasteners and interlocking panels provide superior protection against wind, rain, and snow
- Increased home value – Metal roofing adds significant resale value to your property
- Environmental benefits – Metal roofing materials are 100% recyclable and often contain recycled content
9 Steps: How To Install Standing Seam Metal Roof

Installing a standing seam metal roof requires systematic planning and precise execution to ensure optimal performance. Each step builds upon the previous one, creating a watertight, durable roofing system that protects your home for decades.
1. Prepare the Roof Deck and Remove Old Materials
Begin by removing existing roofing materials down to the roof decking to assess the structural foundation. Check for any damaged or rotted decking boards that need replacement before proceeding.
- Inspect the roof deck for proper ventilation and structural integrity
- Replace any damaged plywood or OSB sheathing with appropriate materials
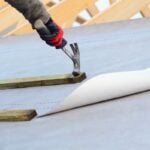
2. Install Underlayment and Ice Barrier
Apply high-quality synthetic underlayment across the entire roof surface, starting from the bottom edge and working upward. Install ice and water barrier along eaves, valleys, and other vulnerable areas.
- Use synthetic underlayment rated for metal roofing applications
- Overlap each row by at least 6 inches to ensure complete coverage
3. Install Drip Edge and Trim Components
Secure drip edge along all roof perimeters before installing metal panels to ensure proper water drainage. Install trim pieces around chimneys, vents, and other roof penetrations.
- Choose drip edge materials that match your metal roofing color
- Ensure all trim pieces are properly sealed and secured
4. Install Starter Strips and Closure Strips
Position starter strips along the eave edge to provide a secure attachment point for the first metal panel. Install closure strips where panels meet ridge lines or other roofing components.
- Align starter strips perfectly to ensure straight panel installation
- Use appropriate fasteners rated for metal roofing applications
5. Install the First Metal Panel
Carefully position the first standing seam panel, ensuring it’s perfectly square and aligned with your layout marks. This panel sets the foundation for all subsequent installations.
- Double-check measurements and alignment before securing the panel
- Use panel clamps to hold the panel in position during installation
6. Install Remaining Panels with Proper Overlap
Continue installing panels from right to left (or left to right depending on your system), ensuring each panel properly interlocks with the previous one. Maintain consistent spacing and alignment throughout the process.
- Check alignment every few panels to prevent cumulative errors
- Use proper lifting techniques when handling long metal panels
7. Secure Panels with Appropriate Fasteners
Fasten each panel according to manufacturer specifications, typically using clips or fasteners placed in designated locations. Avoid over-tightening fasteners which can cause panel distortion.
- Use only fasteners recommended by the panel manufacturer
- Install fasteners at specified intervals for optimal wind resistance
8. Install Ridge Cap and Hip Details
Install ridge cap pieces along all roof peaks, ensuring proper overlap and weather sealing. Add hip caps where roof planes intersect at angles.
- Apply appropriate sealants at all ridge cap connections
- Ensure adequate ventilation space beneath ridge caps
9. Complete Final Seaming and Quality Inspection
Use a seaming tool to lock all panel seams securely, creating the characteristic “standing seam” appearance. Conduct a thorough inspection to verify all connections are secure and properly sealed.
- Test all seams for proper engagement and weather resistance
- Document any warranty information and maintenance requirements
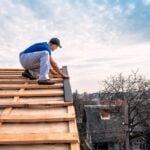
Safety Considerations and Professional Installation Benefits

Working on rooftops presents significant safety risks that require proper planning and equipment to mitigate effectively. Professional installers bring specialized tools, experience, and insurance coverage that protect both your property and personal safety.
Essential Safety Equipment and Precautions
Metal roofing installation demands specific safety protocols due to slippery surfaces and elevated work conditions. Professional contractors maintain comprehensive safety training and equipment to minimize risks.
Required safety equipment includes:
- OSHA-compliant fall protection harnesses and anchor points
- Non-slip footwear designed for metal surface traction
- Weather monitoring systems to avoid installation during unsafe conditions
Professional Installation Advantages
Experienced contractors like Titan Roofing Solutions bring decades of specialized knowledge to every standing seam metal roof project. Their expertise ensures optimal performance, longevity, and warranty compliance.
Professional installation benefits:
- Warranty protection – Manufacturer warranties often require professional installation
- Code compliance – Licensed contractors ensure all work meets local building codes
- Specialized tools – Professional seaming equipment creates superior panel connections
- Time efficiency – Experienced crews complete installations faster with fewer delays
Secure Your Investment with Expert Installation
Installing a standing seam metal roof represents a significant investment in your home’s future protection and value. While understanding the installation process helps you make informed decisions, the complexity and safety requirements of this project typically warrant professional expertise.
Proper installation ensures your metal roof delivers decades of reliable performance, energy savings, and weather protection. Don’t compromise on quality when it comes to protecting your most valuable asset.
Ready to upgrade to a standing seam metal roof? Contact Titan Roofing Solutions today for a free consultation and discover why Sacramento homeowners have trusted our expertise since 1983. Our licensed professionals provide comprehensive installation services backed by industry-leading warranties and decades of local experience.
Comments 4
What Is Roof Sheathing? (Types, Materials & More)
[…] roof framework. This layer is what creates the flat surface needed to install shingles, tiles, or metal roofing. Without strong, properly installed sheathing, your entire roof system could be […]
What Are 8 Main Parts Of A Roof? (Homeowner's Guide)
[…] Options: Asphalt shingles are cost-effective and versatile, metal roofing offers durability and energy efficiency, and tile roofing provides longevity and unique aesthetics […]
Metal Roof Installation (Step-By-Step Guide)
[…] you’re replacing an old system or starting fresh, a professionally installed metal roof offers decades of protection, beauty, and performance. For homeowners in Folsom and surrounding […]
15 Must Have Roofing Tools For Repairs
[…] Cordless drills with various bits handle everything from pilot holes to driving screws in metal roofing. […]