Emergency Roof Tarping 101 (Process, Safety & Pro Tips)
Roof damage rarely happens on a schedule. When storms, falling debris, or sudden leaks expose your home, emergency roof tarping is often the fastest way to prevent water from causing even more damage. This temporary solution protects your interior, buys time for inspections, and helps homeowners avoid costly secondary issues. Knowing when tarping is needed and how it works can make a stressful situation far more manageable, especially for homeowners in Sacramento and surrounding areas who may face sudden weather changes.
In this guide, you will learn:
- When emergency roof tarping is necessary
- Why acting quickly after roof damage matters
- The full step-by-step tarping process
- Key safety concerns homeowners should understand
- Pro tips for protecting your home until repairs are complete
Why Emergency Roof Tarping Is So Important
 Roof damage creates immediate vulnerability. Even a small opening can allow water to soak insulation, stain ceilings, and weaken structural components. Emergency roof tarping acts as a temporary shield that prevents further damage while you plan permanent repairs.
In Sacramento and surrounding areas, storms often bring wind-driven rain that can force moisture deep into a roof system. Without temporary protection, damage can spread quickly and lead to repairs far beyond the original problem.
Here are the main reasons emergency roof tarping is critical:
- Immediate water protection: A properly secured tarp blocks rain and debris from entering exposed areas.
- Damage containment: Tarping limits how far water can spread inside walls and ceilings.
- Insurance compliance: Temporary protection shows you took steps to prevent additional loss.
- Repair flexibility: Tarping gives you time to schedule inspections and repairs without rushing decisions.
- Peace of mind: Knowing your home is protected reduces stress during an already difficult moment.
6-Step Emergency Roof Tarping Process Explained
Emergency roof tarping is a methodical process, not a quick fix. Each step plays a role in ensuring the tarp stays secure and actually protects the damaged area. Below is a clear breakdown of how the process typically works.
A proper tarping job starts with careful preparation and ends with secure installation designed to hold up against wind and rain.
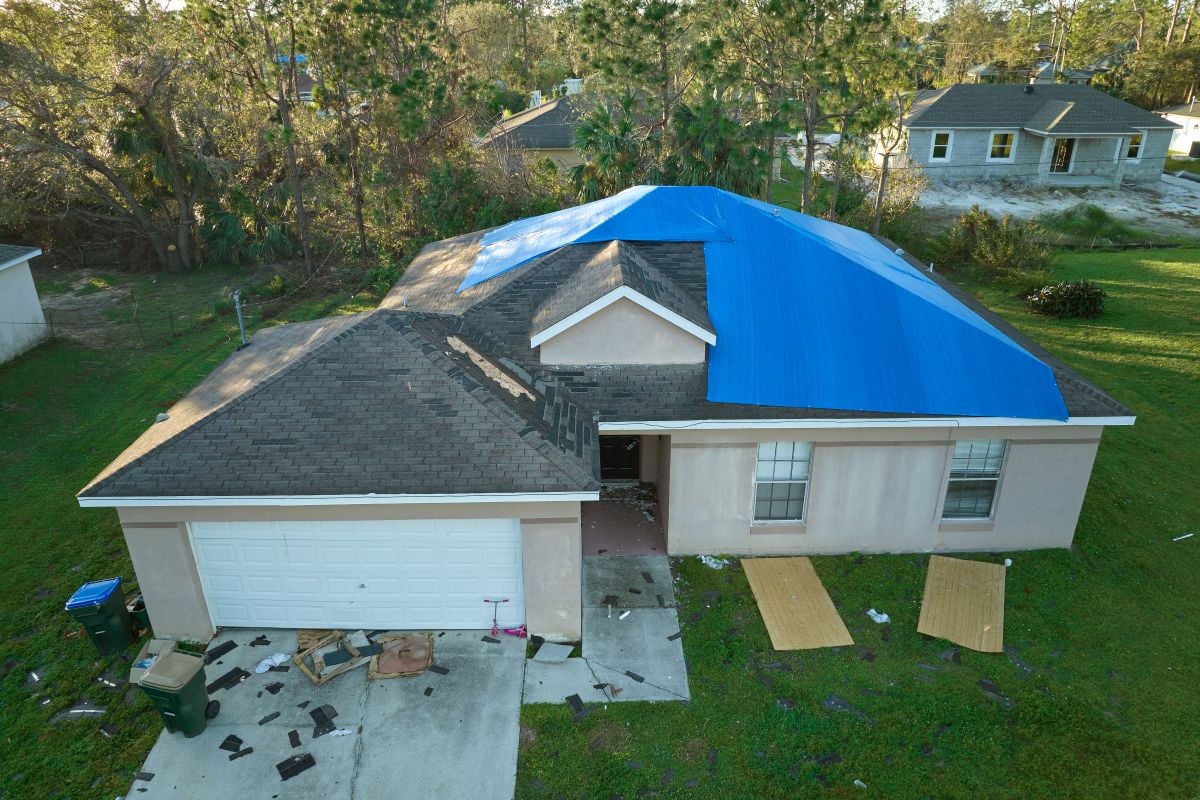
1. Identifying All Damaged Areas
Before a tarp is installed, all vulnerable sections of the roof must be identified. Damage is not always limited to the most obvious spot. Wind can lift shingles several feet away from the original impact point.
Professionals look for:
- Missing or torn shingles
- Holes caused by debris
- Lifted flashing near vents or chimneys
- Exposed roof decking
Missing hidden damage can allow water to continue entering the home, even after tarping.
2. Selecting the Right Tarp and Materials
Not all tarps are suitable for roof protection. A tarp must be thick, durable, and large enough to extend well beyond the damaged area.
Common materials used include:
- Heavy-duty waterproof tarps
- Wood strips or battens for secure anchoring
- Roofing nails or screws
- Sealants when appropriate
Using the wrong tarp or inadequate fasteners can cause the tarp to fail during the next storm.
3. Preparing the Roof Surface
Before the tarp is placed, loose debris and damaged materials must be cleared away. This allows the tarp to lie flat and reduces the chance of tearing.
Preparation often includes:
- Removing loose shingles
- Clearing branches or debris
- Drying wet areas when possible
A clean surface helps the tarp seal more effectively and last longer.
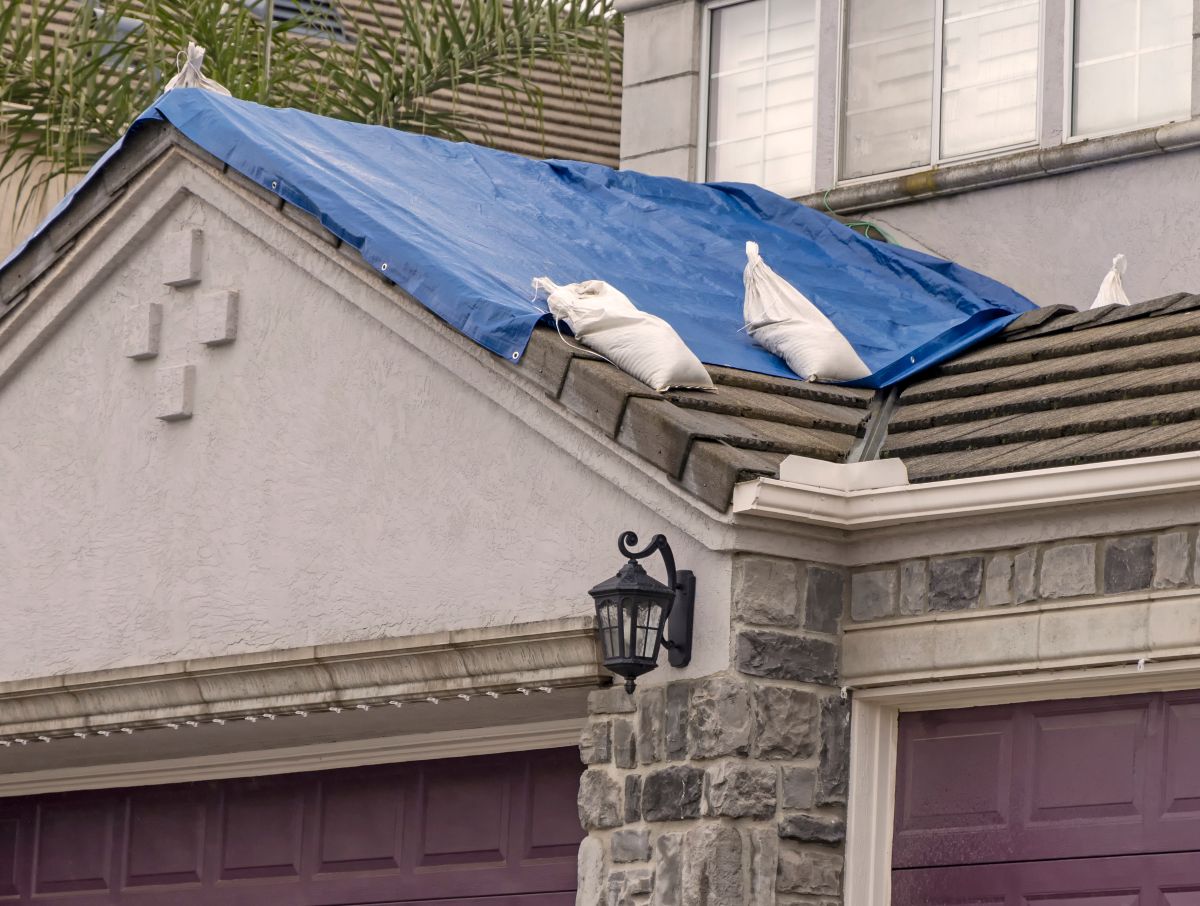
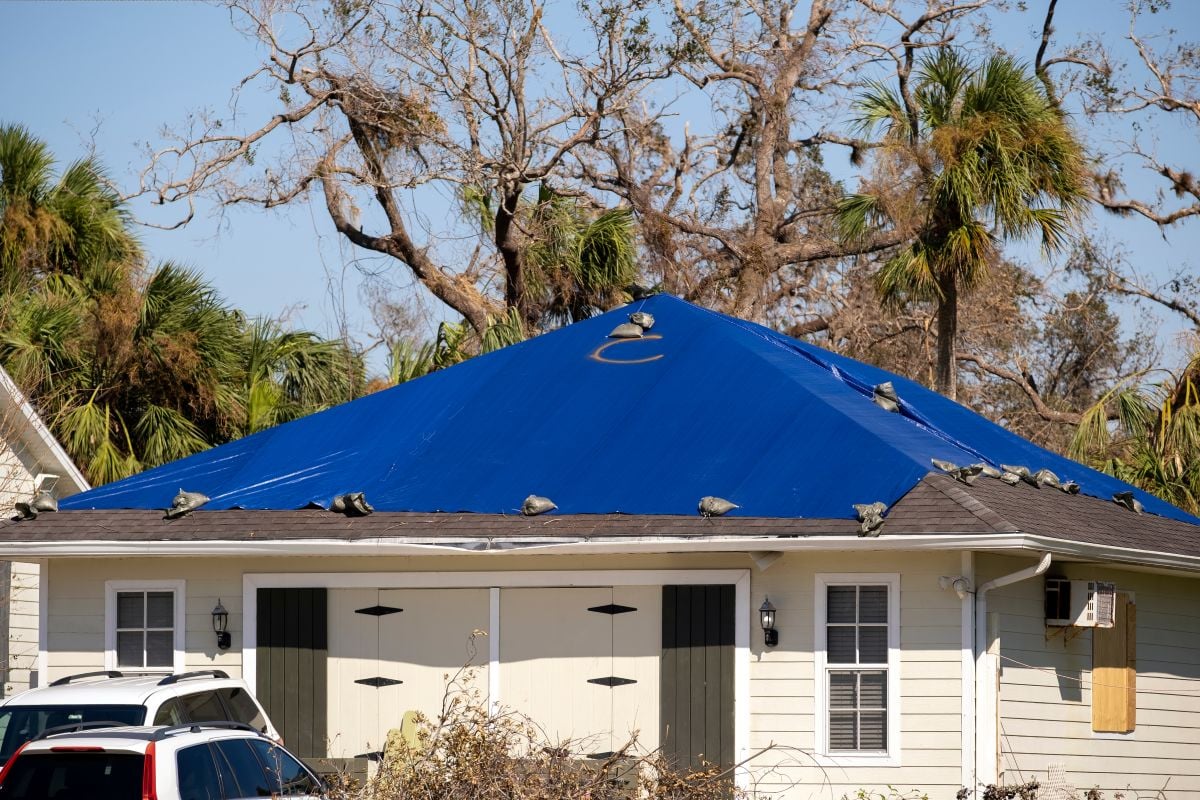
4. Positioning the Tarp Correctly
Proper positioning is essential. The tarp must extend several feet beyond the damaged area in all directions, especially uphill, to prevent water from running underneath.
Key positioning principles include:
- Covering the damage completely
- Extending past roof peaks or ridges when needed
- Aligning the tarp to direct water away from the opening
Poor placement can allow water to sneak under the tarp during heavy rain.
5. Securing the Tarp for Wind Resistance
Once positioned, the tarp must be tightly secured to withstand wind. This is one of the most critical steps and where many DIY attempts fail.
Professional securing methods often involve:
- Wrapping tarp edges around wood strips
- Fastening strips into solid roof decking
- Avoiding direct nailing through exposed tarp areas
This technique reduces tearing and keeps the tarp tight during storms.
6. Final Inspection and Ongoing Monitoring
After installation, the tarp is inspected to ensure there are no gaps, loose edges, or areas where water could enter. Monitoring is also important, especially after additional storms.
Homeowners should:
- Check the tarp after heavy wind or rain
- Look for sagging or loosened sections
- Report changes immediately
Emergency roof tarping is temporary, so ongoing awareness matters until permanent repairs are complete.
Safety Considerations Homeowners Should Never Ignore
 Roof tarping involves significant safety risks. Sloped surfaces, wet materials, and unstable structures make roof work dangerous, especially after a storm.
Falls are one of the leading causes of serious injuries during emergency repairs. That is why homeowners are often advised not to attempt roof tarping themselves.
Key safety concerns include:
- Slippery shingles and decking
- Hidden structural weakness
- Unstable ladders on wet ground
- Electrical hazards from nearby power lines
Professional crews use proper safety equipment and training to reduce these risks.
When DIY Tarping Is Especially Risky
Certain situations greatly increase danger for homeowners attempting tarping:
- Steep or multi-story roofs
- Nighttime or low-visibility conditions
- Active storms or high winds
- Extensive structural damage
In these cases, waiting for professional help is often the safest choice.
How Emergency Roof Tarping Helps With Insurance Claims
Insurance companies expect homeowners to take reasonable steps to prevent further damage after a covered event. Emergency roof tarping plays an important role in meeting this expectation.
Temporary protection helps demonstrate that:
- You acted promptly after damage occurred
- You attempted to prevent additional water intrusion
- Interior damage was not caused by neglect
Documentation is also important. Photos of the damage before and after tarping can support your claim and reduce disputes.
Insurance-related benefits of tarping include:
- Limiting claim scope expansion
- Preventing secondary damage exclusions
- Supporting faster claim resolution
For homeowners in Sacramento and surrounding areas, storms can affect entire neighborhoods, making documentation even more important during high claim volumes.
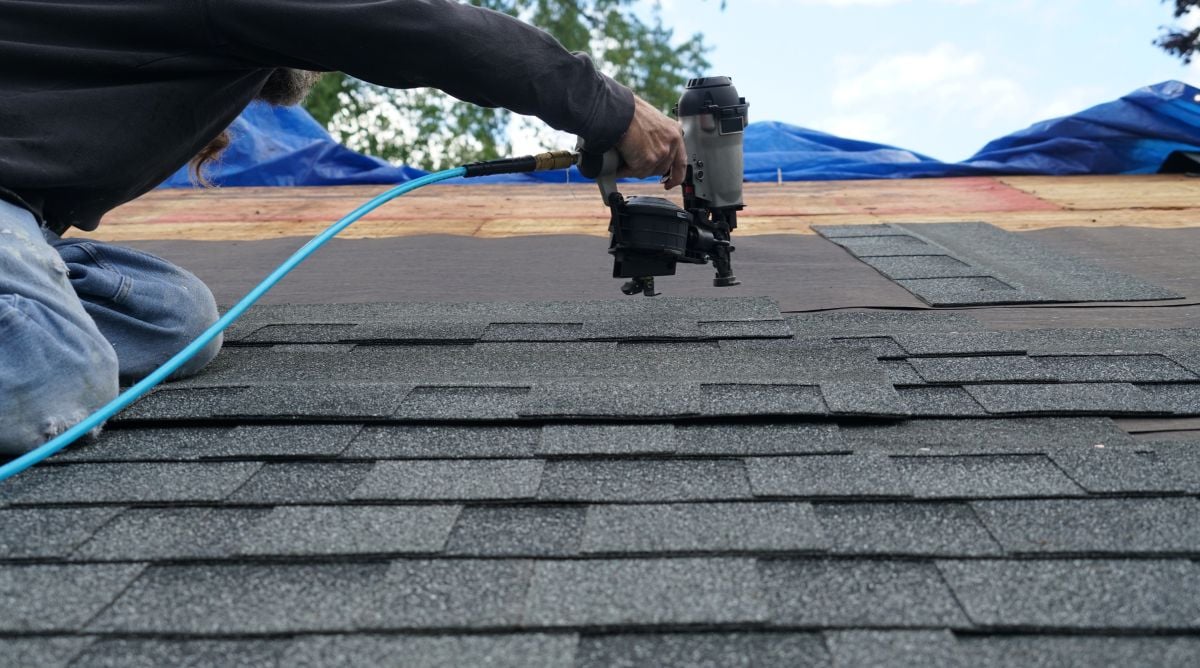
How Long Emergency Roof Tarping Should Last
Emergency roof tarping is not a long-term solution. Tarps are designed to protect your home temporarily while repairs are planned and scheduled.
In general:
- Tarps may last a few weeks to a few months
- Sun exposure can weaken materials over time
- Wind can loosen even well-secured tarps
Permanent repairs should be scheduled as soon as conditions allow. Leaving a tarp in place too long increases the risk of failure and additional damage.
Pro Tips for Homeowners Dealing With Emergency Roof Damage
Knowing what to do and what to avoid can make a major difference after roof damage occurs.
Helpful tips include:
- Act quickly but safely after discovering damage
- Document everything with photos and notes
- Avoid climbing on the roof yourself
- Do not remove damaged materials unnecessarily
- Keep interior areas protected with buckets or plastic sheeting
Staying organized helps reduce stress and leads to better outcomes during repairs.
When to Call a Professional Right Away
 Some roof damage situations require immediate professional attention. Waiting can make the problem far worse.
You should seek emergency help if:
- Water is actively entering the home
- Large sections of roofing are missing
- Structural elements appear compromised
- Weather conditions are expected to worsen
Fast action can prevent extensive interior damage and costly restoration work.
Protect Your Home With Help From Titan Roofing Solutions
Emergency roof tarping is about protecting what matters most while buying time for proper repairs. When done correctly, it prevents further damage, supports insurance claims, and keeps your home safe until permanent solutions are in place. Titan Roofing Solutions helps homeowners throughout Sacramento and surrounding areas respond quickly, safely, and effectively when roof damage occurs.
If your roof has been damaged and you need immediate protection, contact us today to speak with Titan Roofing Solutions and get expert guidance on securing your home and planning the next steps.

Comment (0)