What Is Roof Flashing & How To Install It?
Understanding the role of roof flashing is essential for anyone looking to maintain a durable and weather-resistant roof. Roof flashing acts as a critical defense against water intrusion, protecting your home’s structure from damage caused by leaks and moisture buildup. Proper installation is equally important to ensure the flashing performs as intended over time. Whether you are managing a new roof installation or reinforcing an existing one, knowing the ins and outs of roof flashing can save you significant repair costs down the road.
- Learn what roof flashing is and why it is important
- Discover the key benefits of effective roof flashing
- Step-by-step instructions on how to install roof flashing correctly
- Additional tips to maintain and inspect roof flashing for longevity
- Understanding common materials and types of roof flashing
Why Roof Flashing Is Crucial for Your Home
Roof flashing serves as a waterproof barrier that directs water away from critical areas of a roofing system. Its importance cannot be overstated because it protects against water infiltration which is one of the leading causes of roof damage and structural issues.
- Water Protection: Prevents water from seeping into joints, chimneys, skylights, and valleys, reducing the risk of leaks.
- Structural Integrity: Helps maintain the building’s framework by preventing rot and mold caused by moisture.
- Energy Efficiency: By ensuring the roof remains watertight, flashing supports proper insulation performance, reducing energy costs.
- Longevity: Proper flashing extends the lifespan of both the roof and surrounding building materials.
- Cost Savings: Minimizing water damage reduces the need for frequent repairs or premature roof replacement.
5 Step Guide: How To Install Roof Flashing
Installing roof flashing involves precision and an understanding of roofing system components. Below is a clear breakdown of the steps to follow when installing roof flashing for maximum protection.
1. Prepare the Roof Surface
The first step in installing roof flashing is ensuring that the roof area is clean and dry. Remove any debris, old flashing materials, and damaged shingles to create a smooth surface.
- Inspect the roof decking for damage and repair if necessary.
- Clear gutters and downspouts to ensure proper water flow.
2. Measure and Cut the Flashing Material
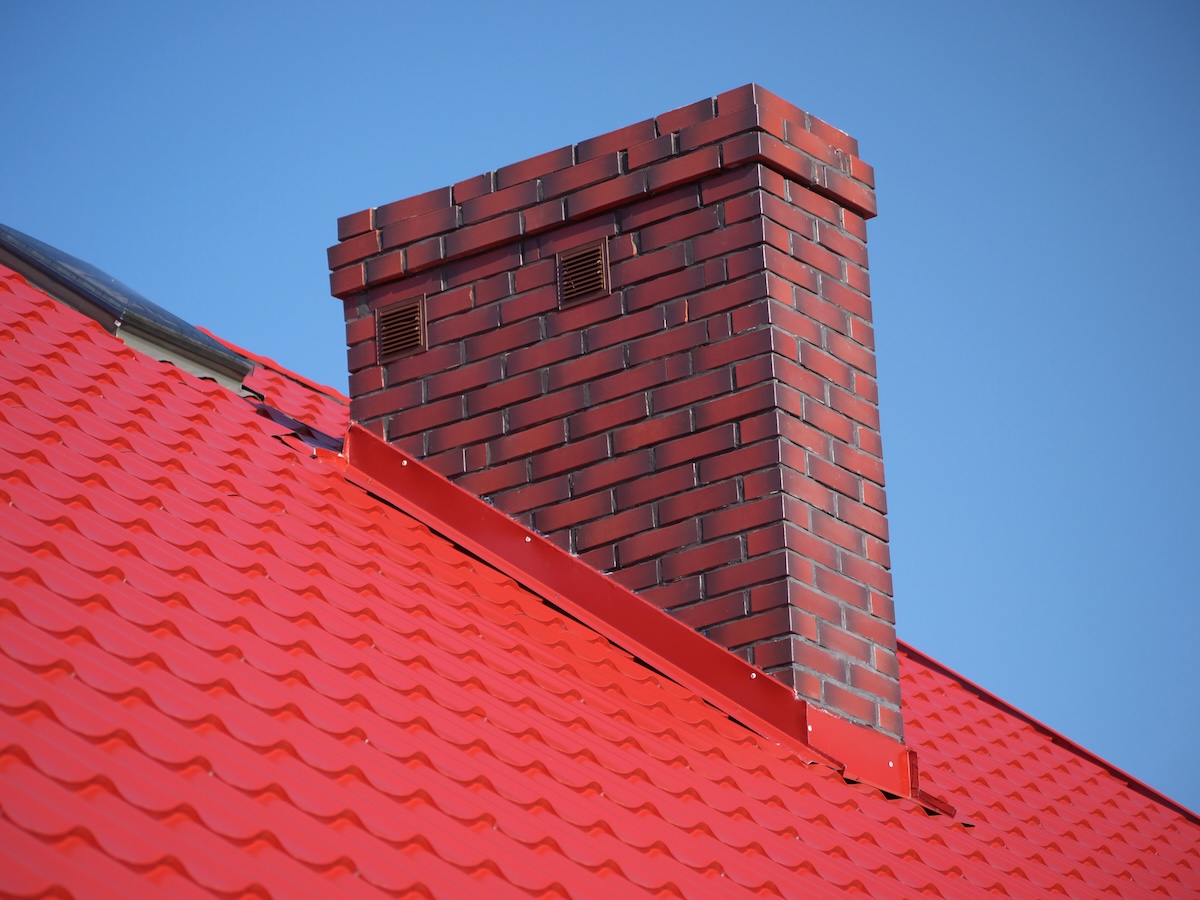
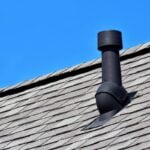
Precise measurement is vital to ensure the flashing fits snugly around roof features such as chimneys, vents, or valleys.
- Use metal shears or a utility knife depending on the flashing material.
- Allow extra inches for overlaps at seams to maintain waterproofing.
3. Install the Flashing Components
Placement varies depending on the specific feature on the roof. Generally, the sequence is to install the step flashing first, followed by valley and continuous flashing.
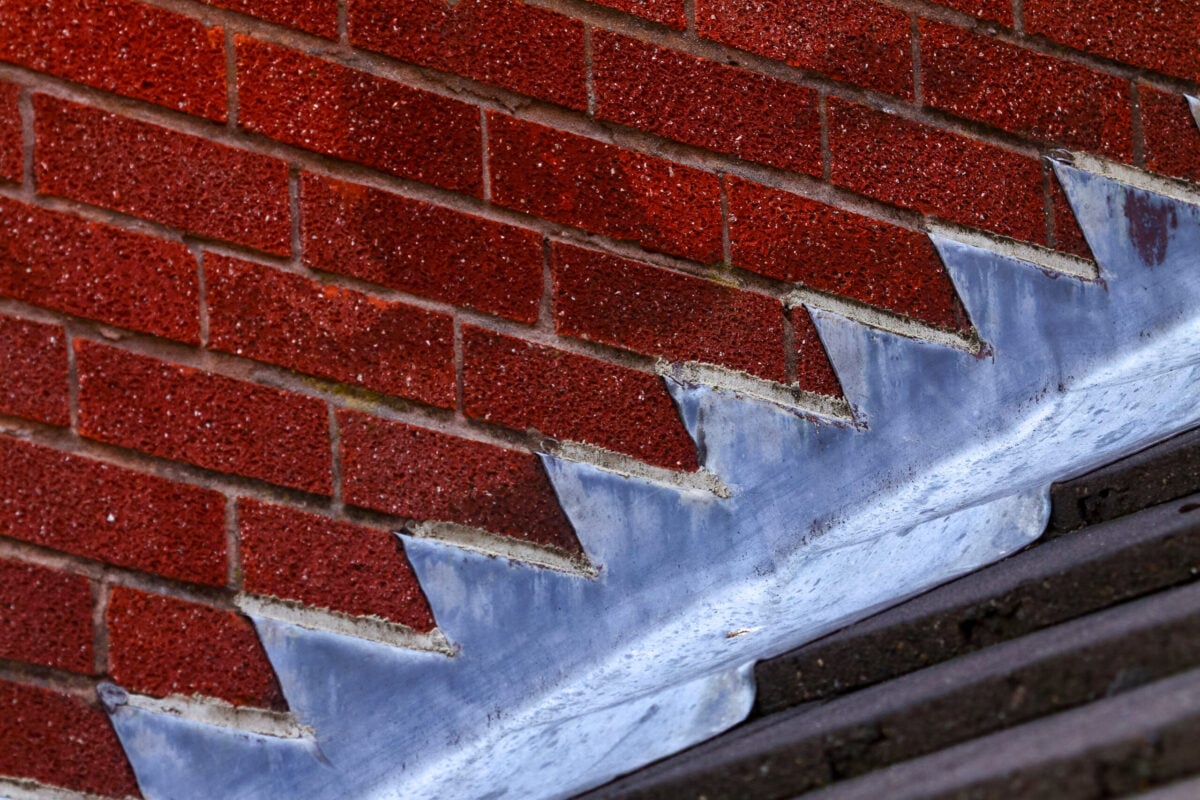
- Step Flashing: Place alongside every course of shingles near walls or chimneys.
- Valley Flashing: Install along valleys where two roof planes meet to direct water safely downward.
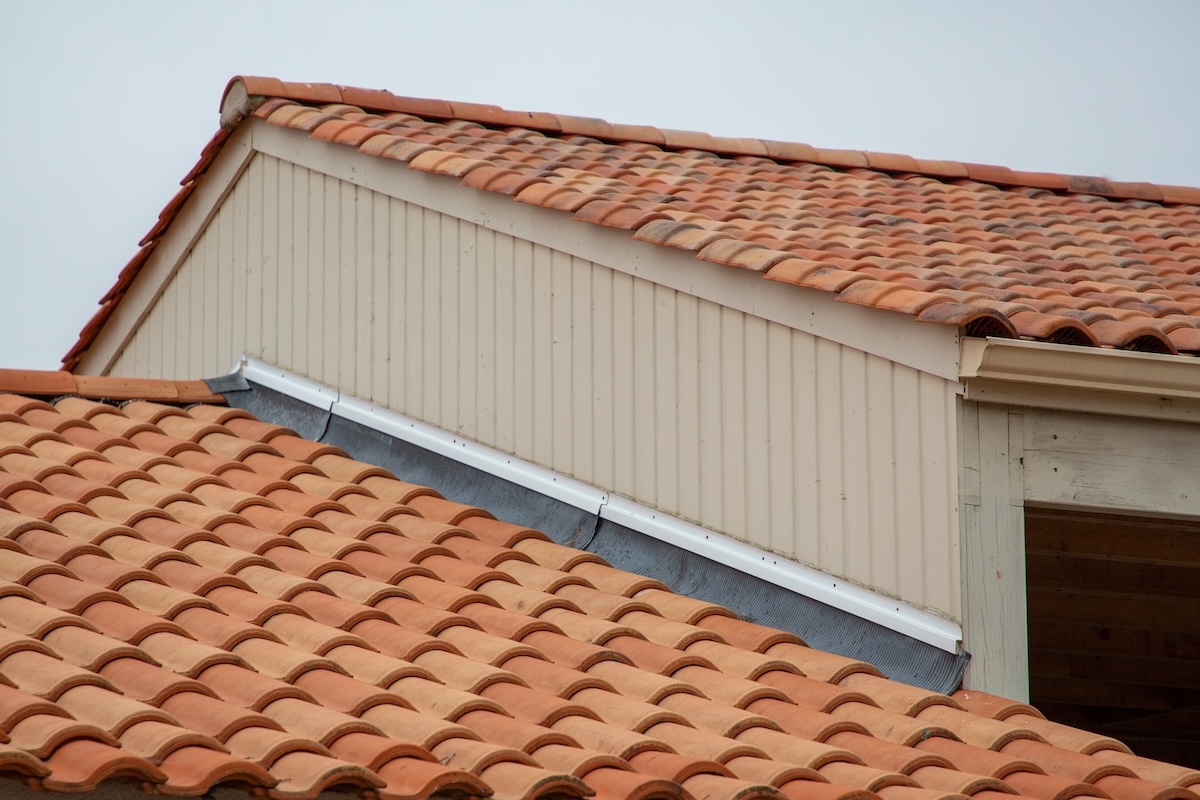
- Continuous Flashing: Used in parapet walls or roof edges to protect long horizontal joints.
4. Secure the Flashing and Seal the Edges
Use corrosion-resistant nails to fasten the flashing securely and ensure it will hold up over time.
- Seal edges and joints with a high-quality roofing sealant to prevent water penetration.
- Check for any gaps and address immediately to avoid leaks.
5. Inspect and Finalize Installation
After installation, inspect the flashing for proper alignment and secure fastening. Make sure the sealant is applied smoothly and there are no exposed nails.
- Confirm flashing integrates seamlessly with shingles without lifting or curling.
- Schedule routine inspections to detect early signs of wear or damage.
Enhancing Your Roof Flashing: Materials and Maintenance Tips
Choosing the right flashing materials and maintaining them properly will enhance the effectiveness and durability of your roof flashing system.
- Common Flashing Materials: Aluminum, galvanized steel, copper, and lead are popular due to their corrosion resistance and flexibility.
- Material Selection: Choose based on roofing type, climate, cost, and desired lifespan.
- Regular Inspections: A bi-annual check, especially after heavy storms, helps catch damage early.
- Cleaning: Remove debris and ensure that gutters near flashing areas are free-flowing.
- Prompt Repairs: Address small cracks or loose flashing to prevent extensive water damage.
Comparing Flashing Types and Applications

Different roof features require specific flashing types to ensure correct water diversion and protection. Understanding their applications can guide proper installation and maintenance.
| Flashing Type | Typical Use | Advantages | Considerations
|
| Step Flashing | Along walls, chimneys, and skylights | Excellent water diversion; easy to customize | Requires careful installation to avoid gaps |
| Continuous Flashing | Roof edges, parapets, and horizontal joints | Seamless coverage; strong protection against wind-driven rain | Less flexible on complex roof designs |
| Valley Flashing | Where two roof slopes meet | Efficient water channeling; reduces pooling | Needs precise fitting to avoid leaks |
| Counter Flashing | Covering step flashing on chimneys or walls | Provides extra sealing layer | Installation can be complex and may require professional help |
Understanding Your Home’s Roof Flashing
Proper roof flashing is a vital component in safeguarding your home against water infiltration and related damage. Its correct installation and maintenance impact both the longevity and reliability of your roofing system. If you want to ensure your roof remains in excellent condition or need professional advice on flashing installation, don’t hesitate to contact us today at Titan Roofing Solutions for expert assistance tailored to your needs.

Comment (0)